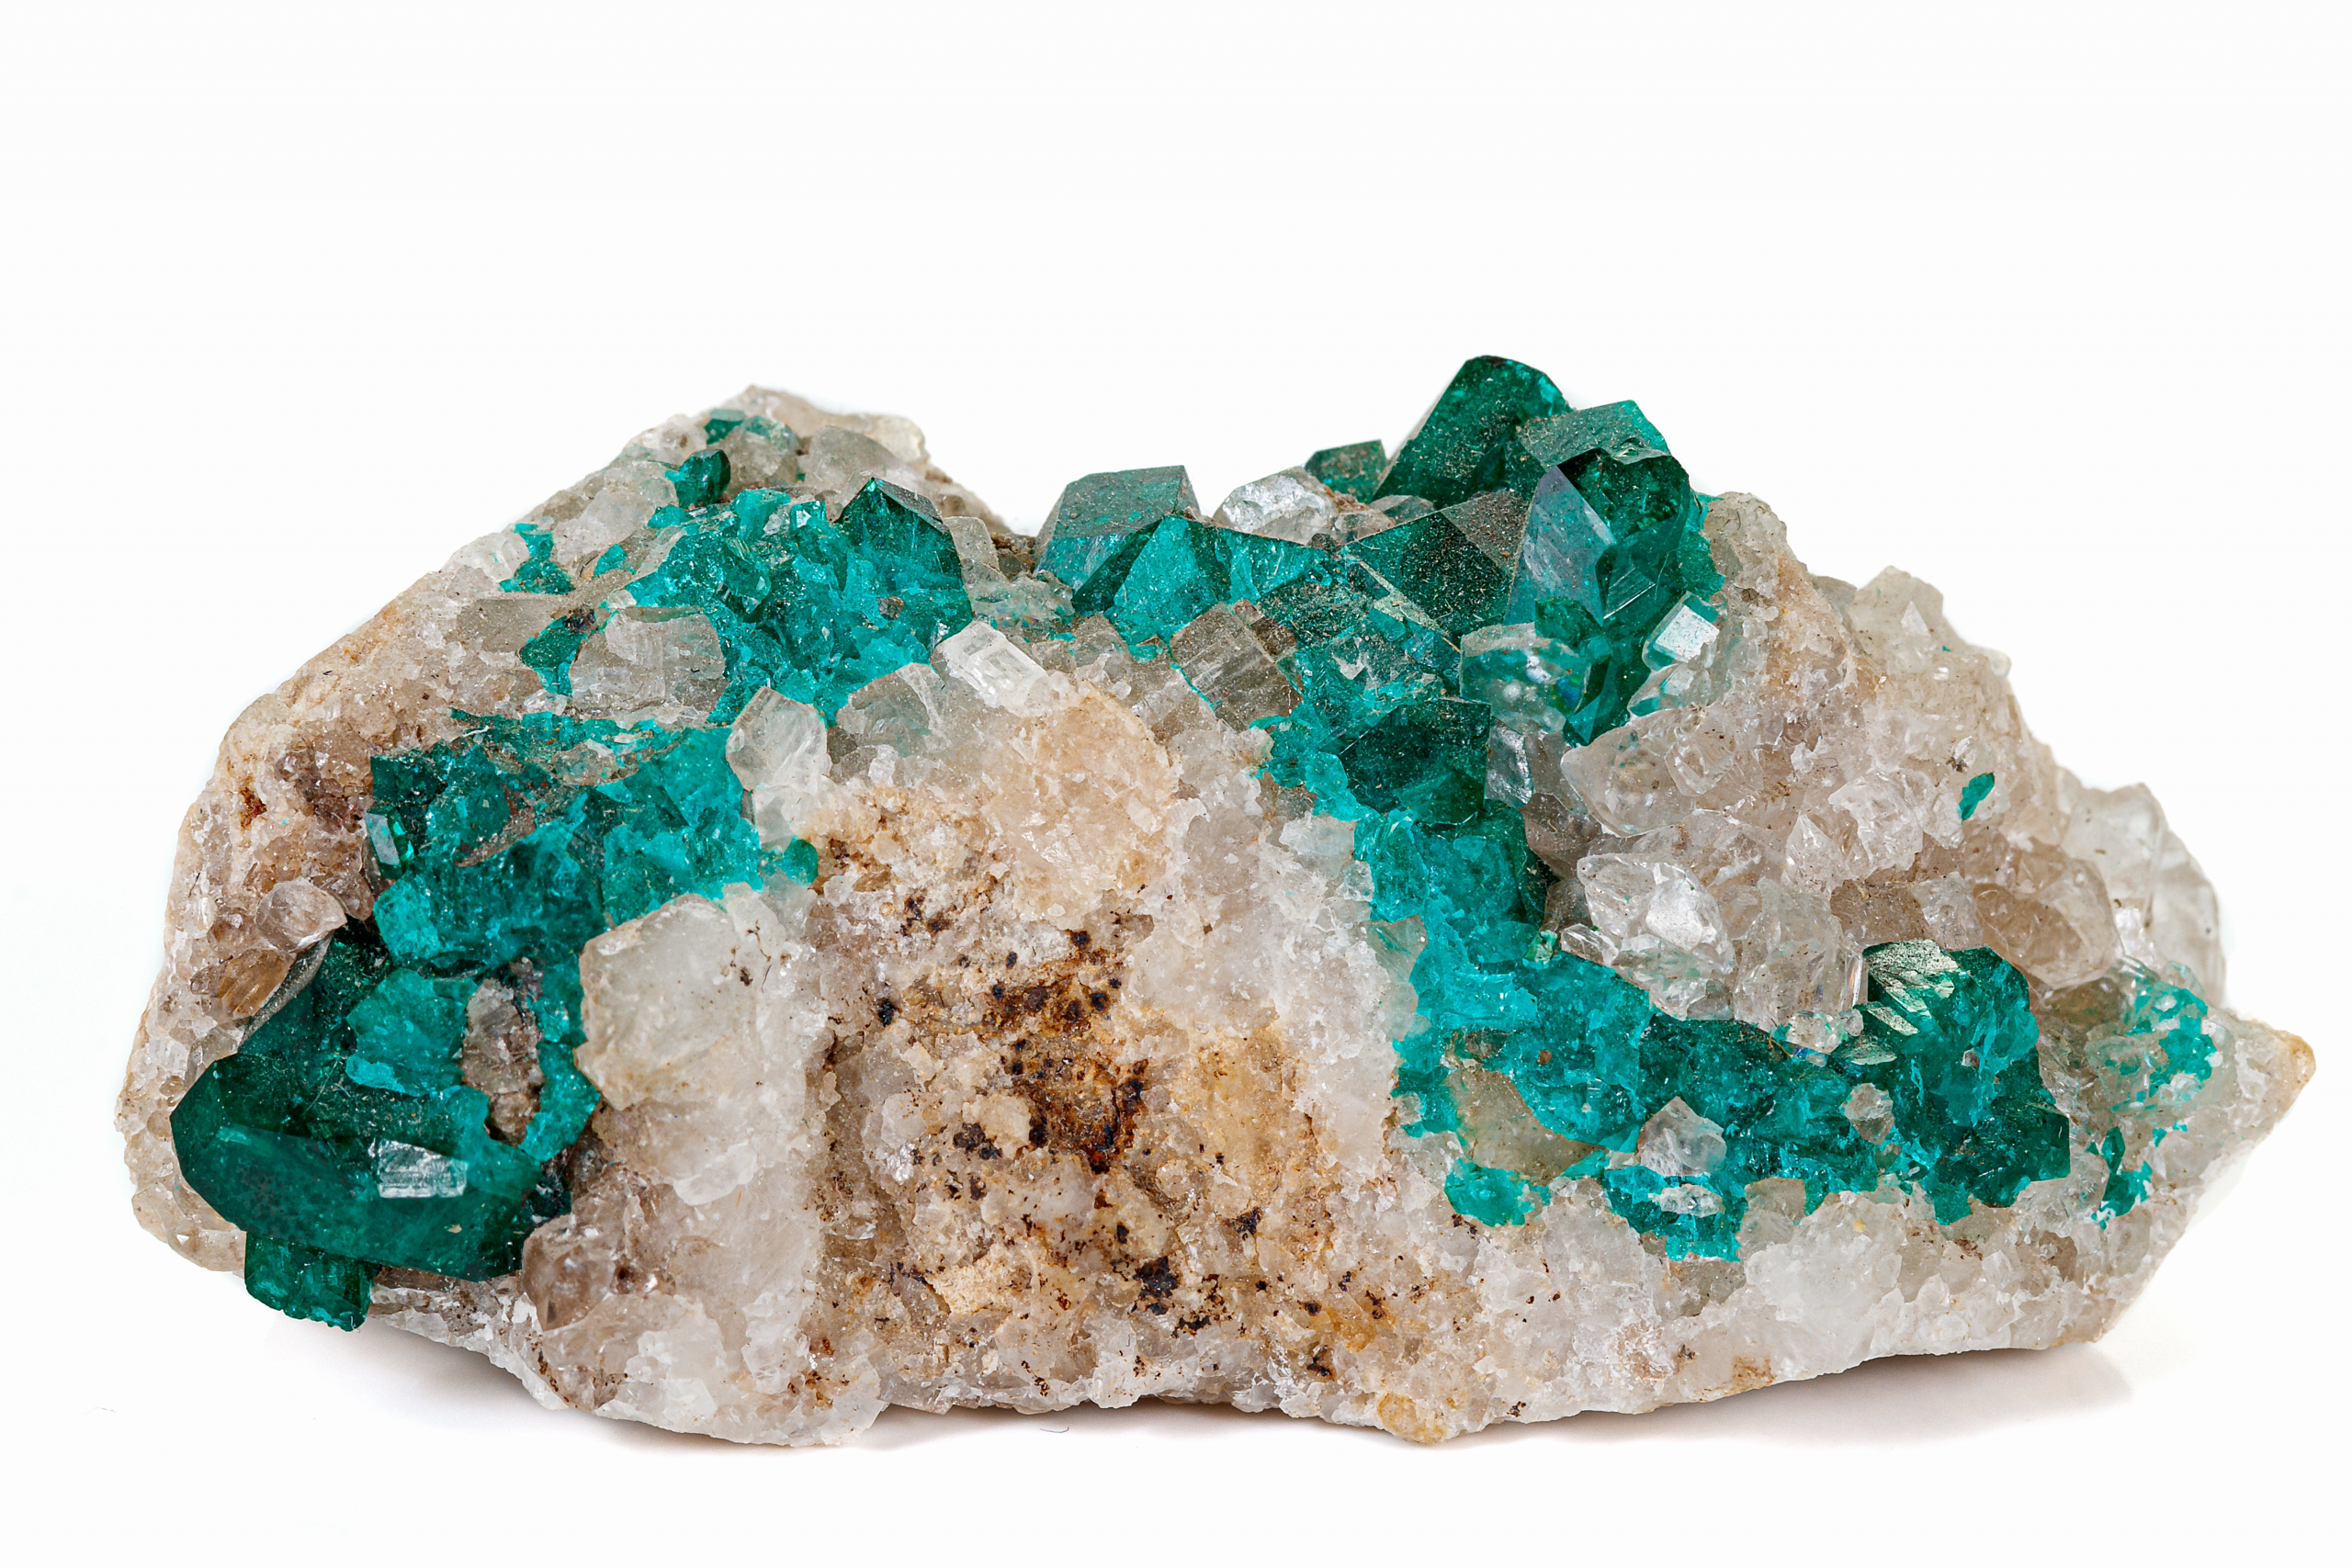

Minerals are among the harder subjects in photography. They are highly reflective, strongly three-dimensional, frequently translucent, and often small enough that depth of field collapses to a couple of millimetres. Almost every bad mineral photograph fails for one of four reasons, and all four are fixable without expensive equipment.
Problem one: harsh specular highlights
A single bare light source on a glassy crystal produces blown-out white patches that destroy all detail, which is a direct consequence of the surface behaviour catalogued in lustre.
The fix is to make the light source physically large relative to the specimen. A big soft source wraps around the crystal and produces gradients instead of hotspots. Practical options: a sheet of tracing paper or baking parchment between lamp and specimen, a white plastic tub with the bottom cut out placed over the piece, or a north-facing window on an overcast day, which is free and excellent.
Two sources, one stronger than the other, generally beat one. The weaker fill light opens the shadows without flattening the form.
Problem two: not enough in focus
Close-up photography gives extremely shallow depth of field. At macro distances even a small aperture may only hold a few millimetres sharp.
Three fixes, in order of effort. Stop the aperture down to f/11 or f/16, accepting some diffraction softening. Back off and crop, since shooting from further away increases depth of field. Or focus stack: take a series of frames with the focus point moved progressively through the specimen and combine them in software. Focus stacking is how essentially every professional mineral photograph is made, and free software will do it.
A tripod is not optional for any of this. Small apertures mean long exposures, and handheld is hopeless.
Problem three: colour that does not match
Household bulbs, daylight and phone screens all have different colour temperatures, and mixing them guarantees a cast. Use one type of light, set a custom white balance off a plain white or grey card, and shoot RAW if the camera allows it.
This matters commercially as well as aesthetically. A photograph that oversaturates a stone is a misrepresentation, and colour is exactly the property buyers cannot verify remotely. If a piece is pale, photograph it pale. The honesty argument in dyed, heated or coated applies to photography too.
Problem four: a background that competes
Plain, neutral, non-reflective. Mid-grey is the safest choice because it flatters both light and dark specimens. Black looks dramatic and swallows dark material; white blows out and fools the meter into underexposing the specimen.
Keep the background far enough behind the piece that it falls out of focus, and keep it clean. Dust reads as enormous at macro scale.
Details that separate a listing photo from a snapshot
- Include a scale. A ruler or a coin in one shot. Size is the single most misjudged thing in online mineral sales, and it maps directly onto the classes in thumbnail, miniature, cabinet.
- Shoot multiple angles, including the back and any damage. Concealed chips generate returns.
- Clean the specimen first, gently, per cleaning and storing.
- Get the working props out of frame. Lot cards, calipers, tape and tools belong in the measuring photo, not the display photo.
- Translucent material wants backlight. A light behind or below the piece reveals interior structure, zoning and phantoms that front lighting hides completely.
- Polished and raw need different treatment. Polished surfaces mirror the room, so what you are really photographing is the reflection, a point connected to raw versus polished.
The test
A good mineral photograph lets someone answer the questions in reading a specimen without a label: habit, lustre, transparency, matrix, damage. If a viewer can assess the piece as if it were in their hand, the photograph has done its job. Everything else is decoration.